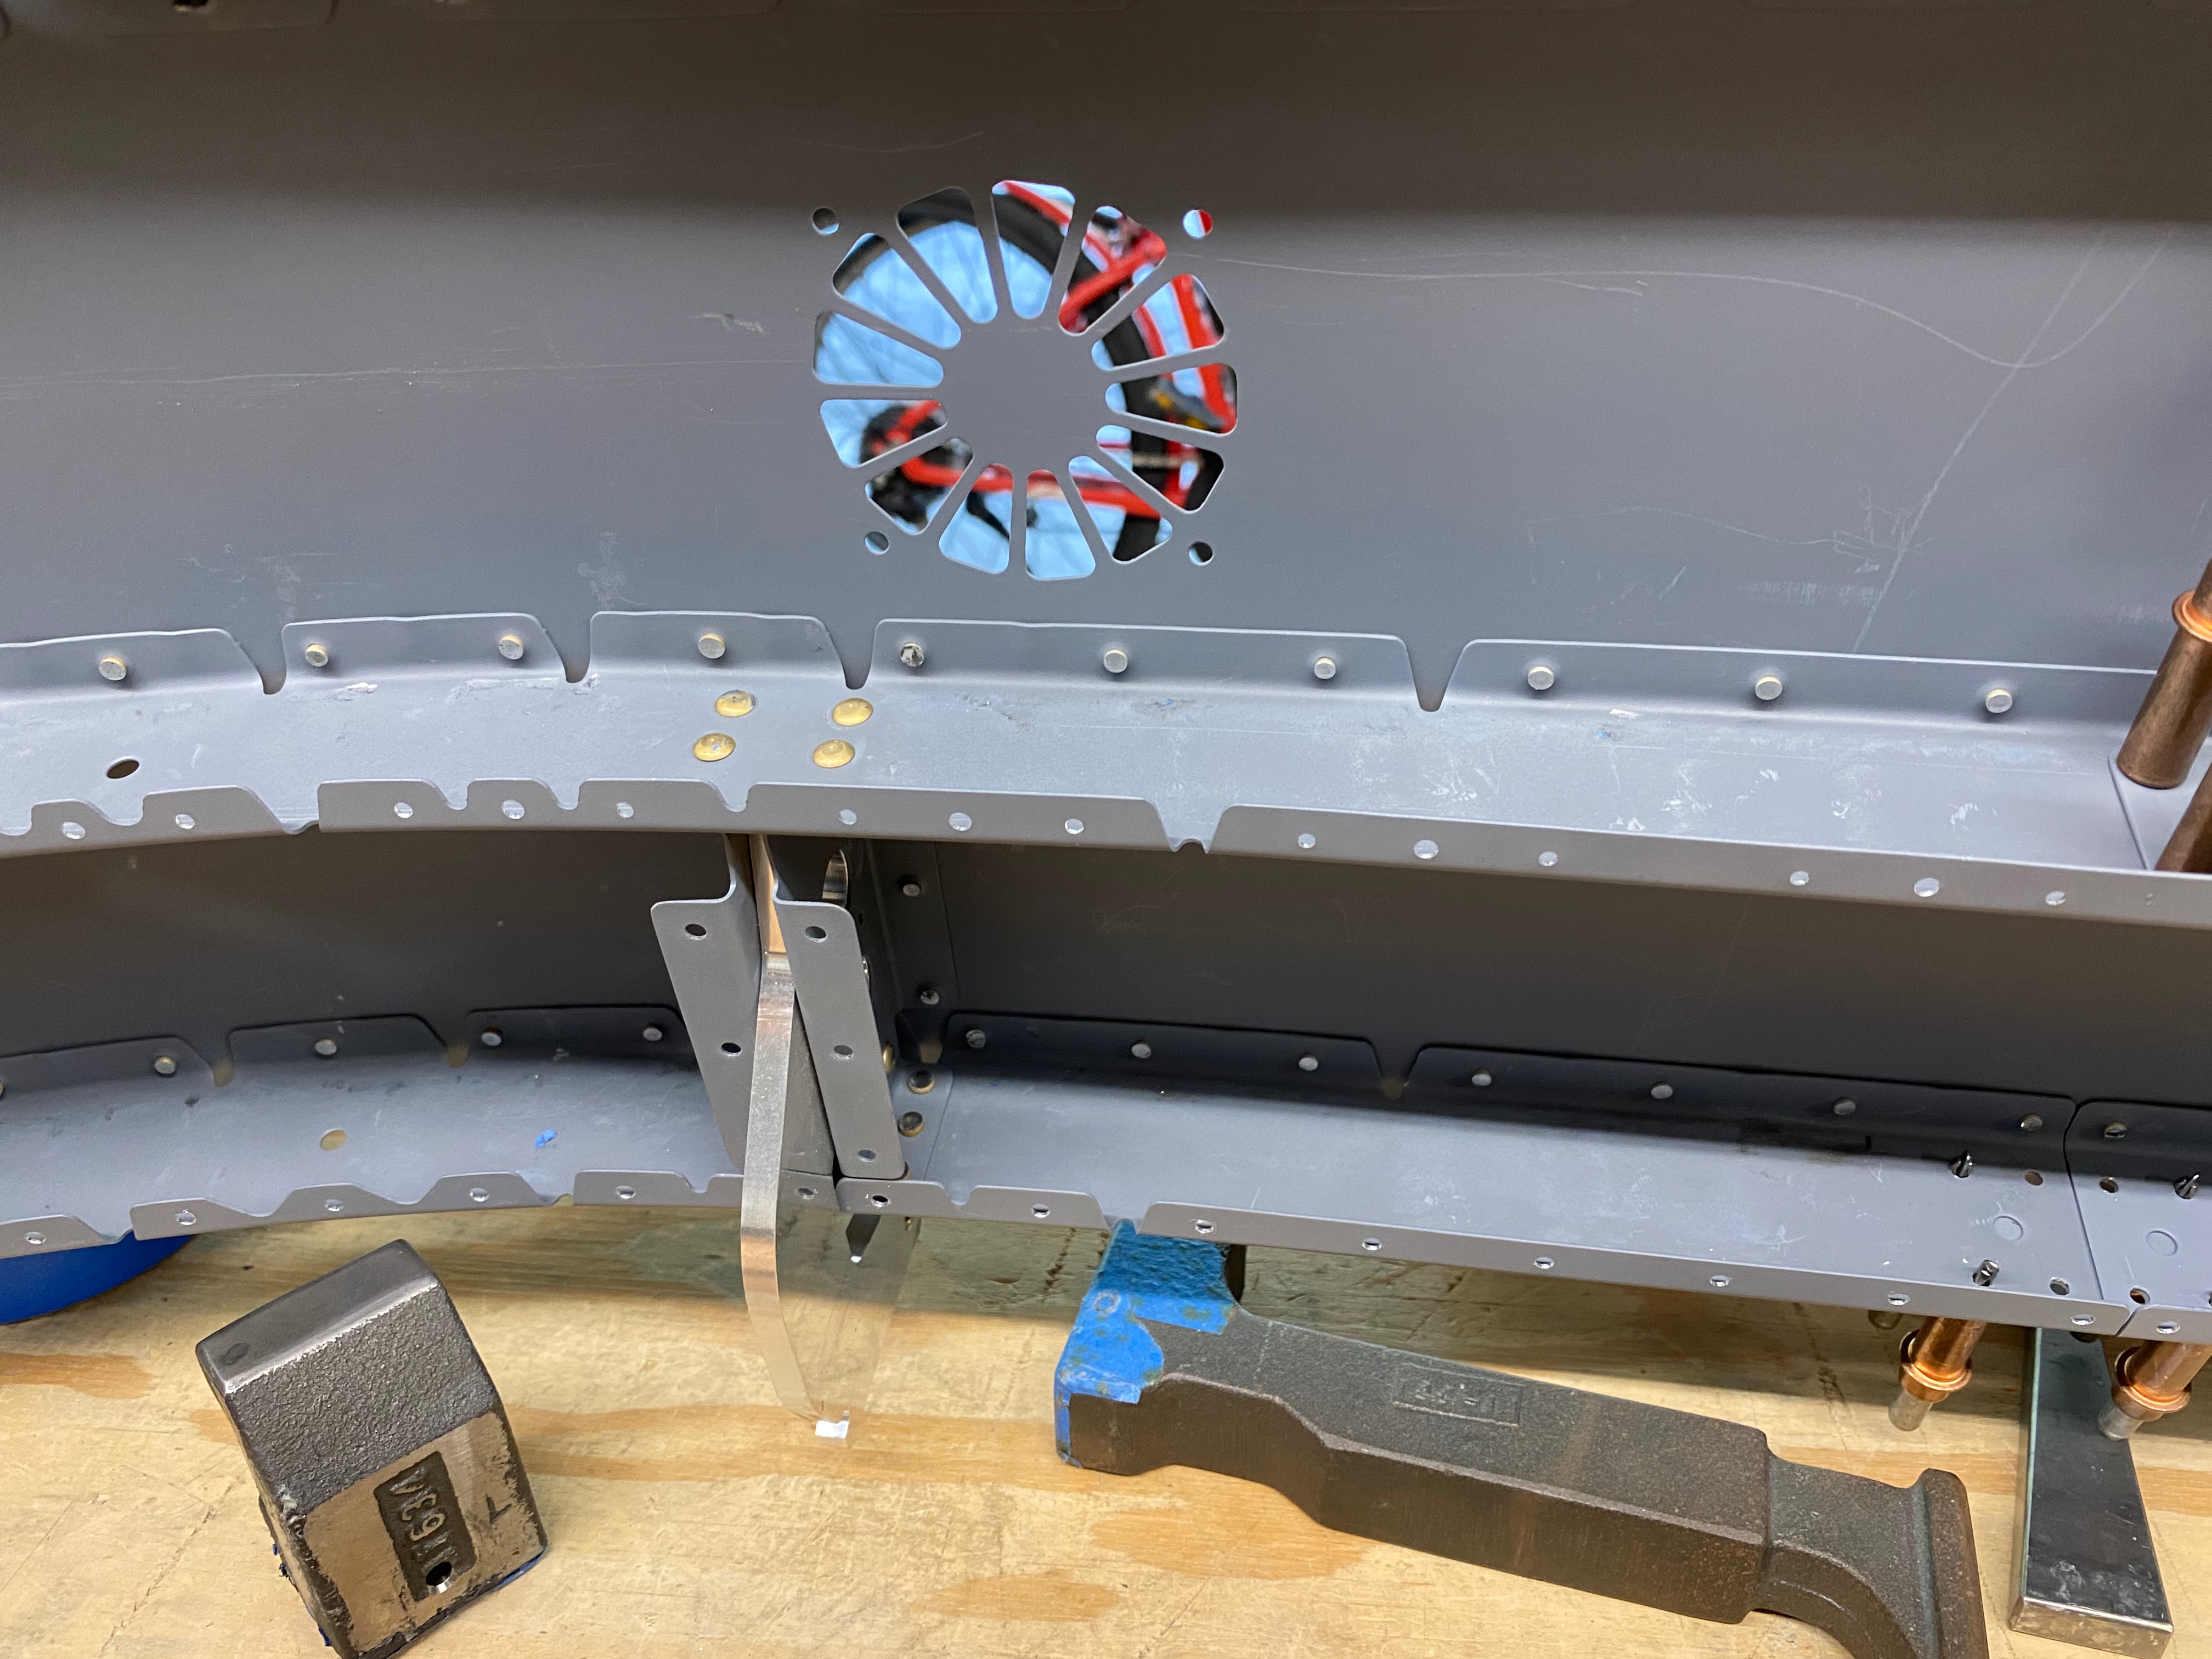
Section: 38
Hours: 6
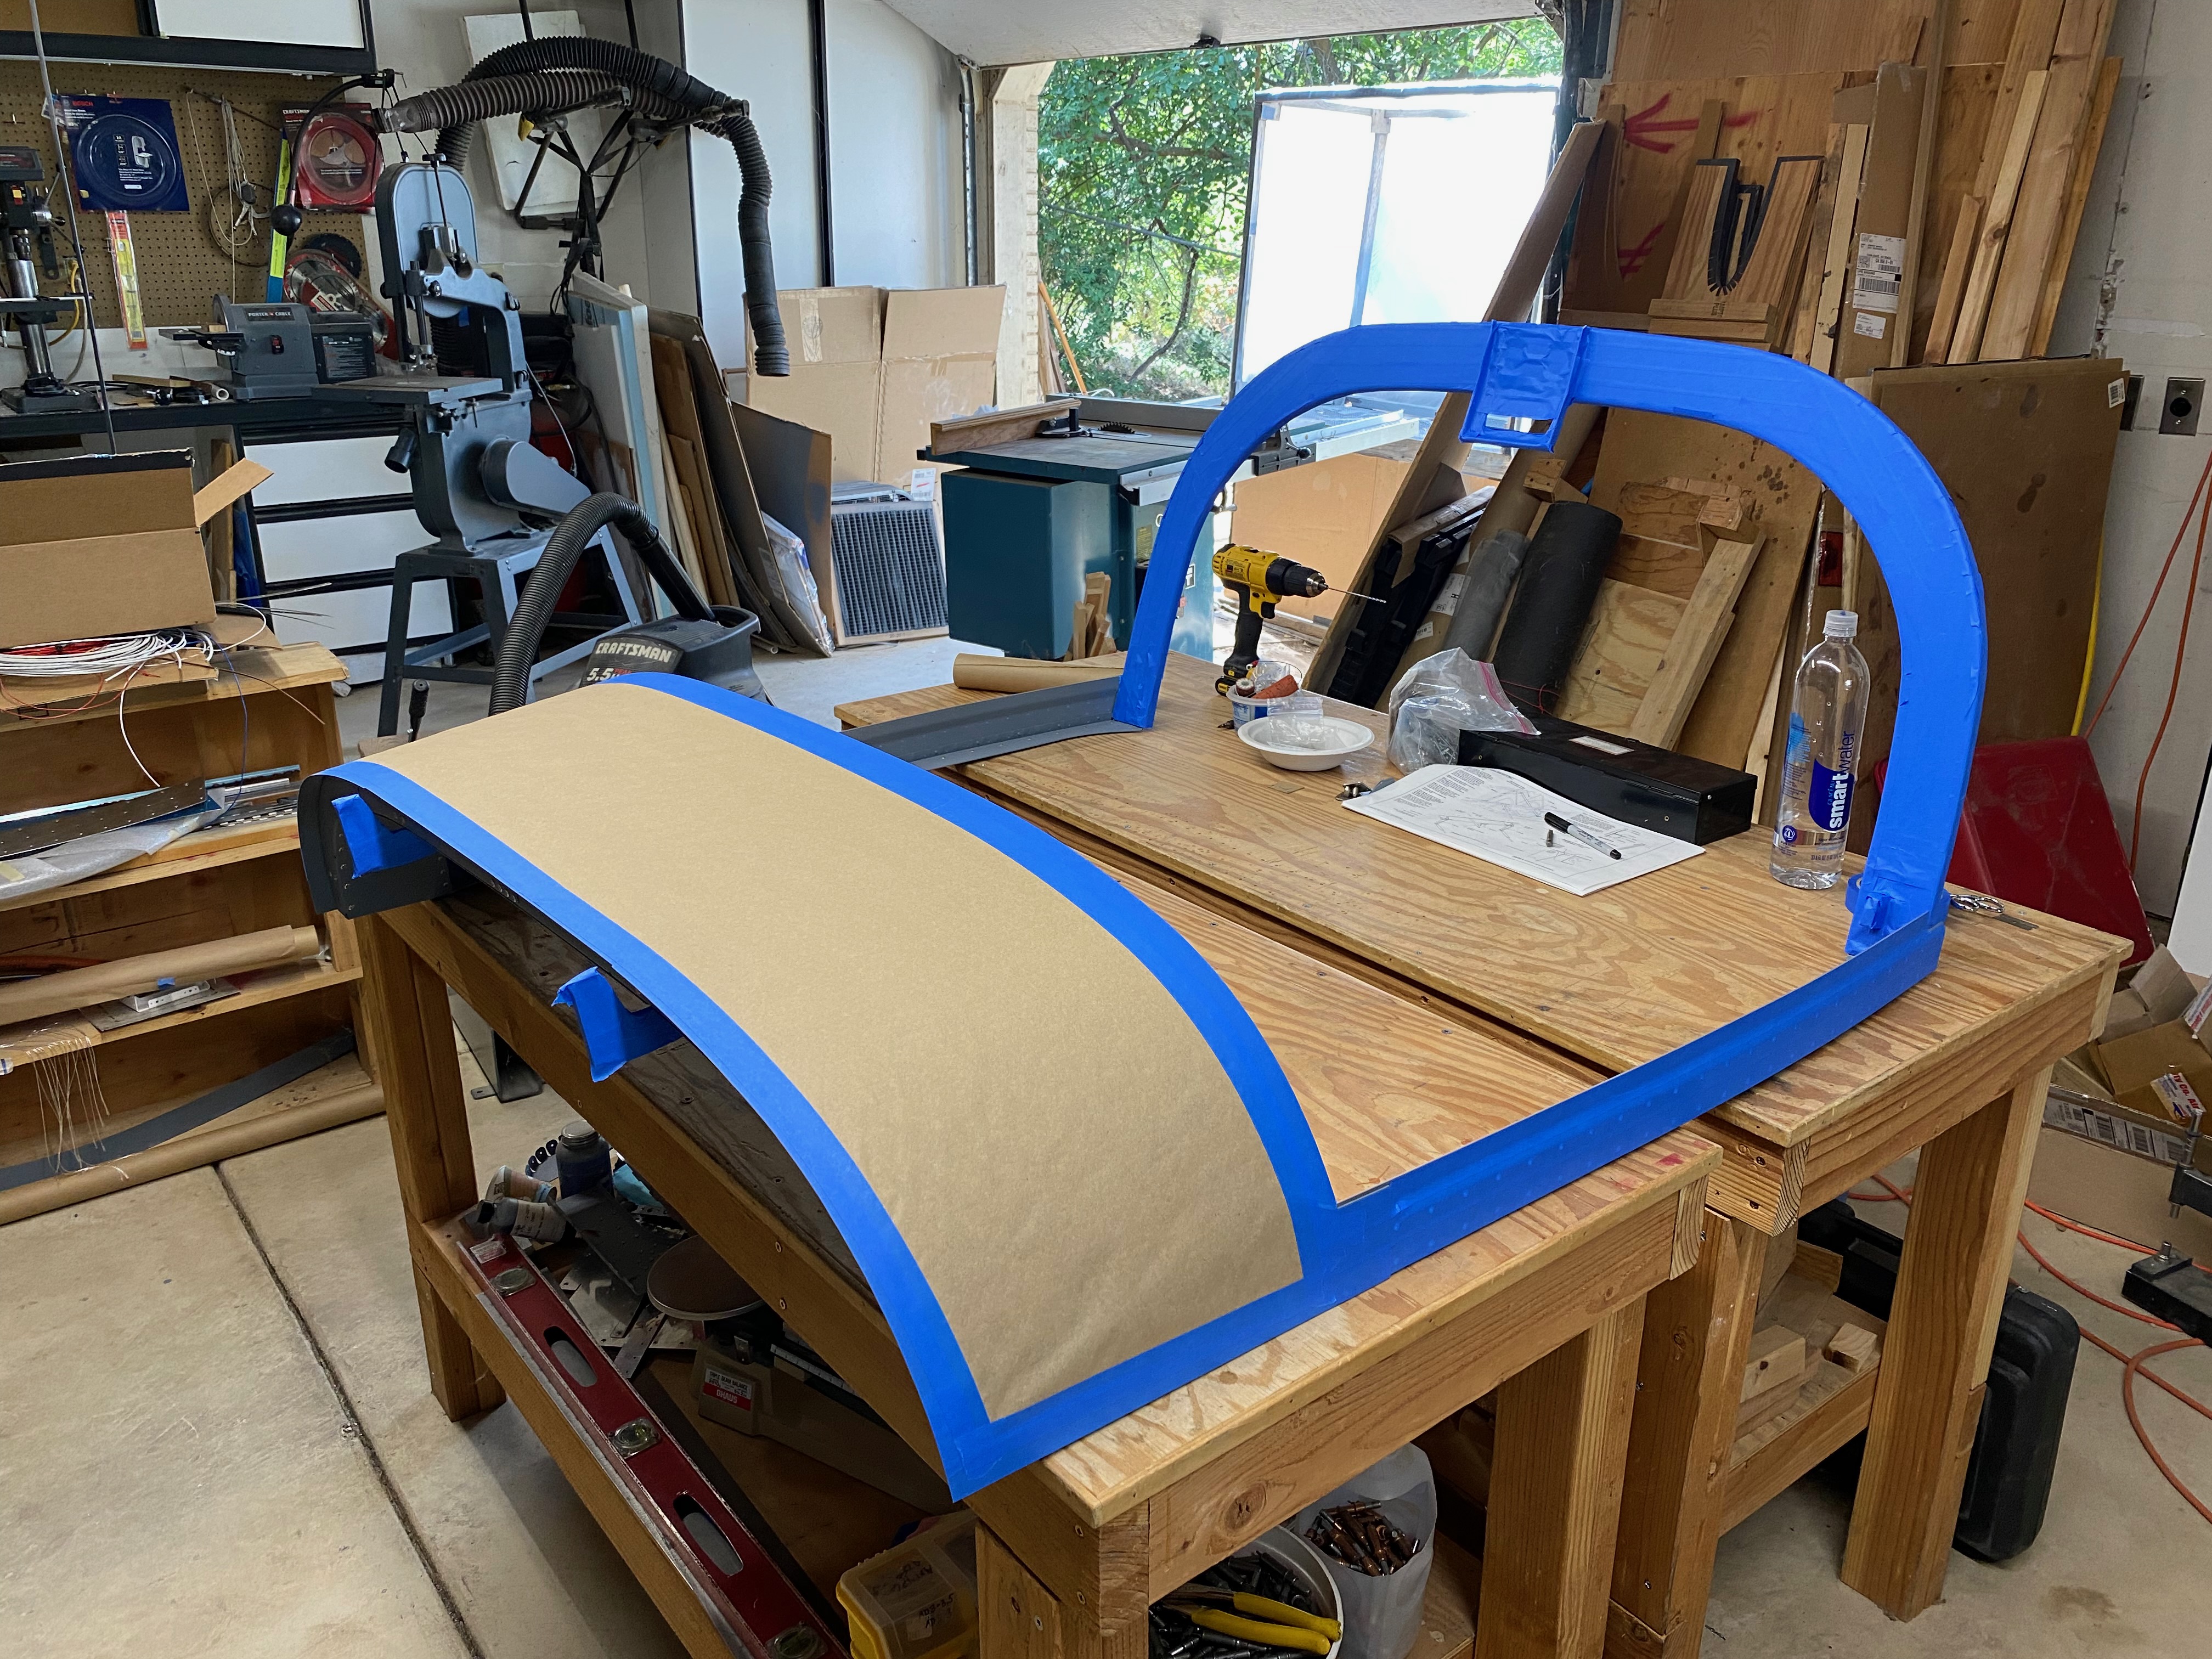
I sanded and profiled the canopy skirt to final shape and applied a top coat of clear epoxy to seal the micro balloon filler.

Section: 38
Hours: 8
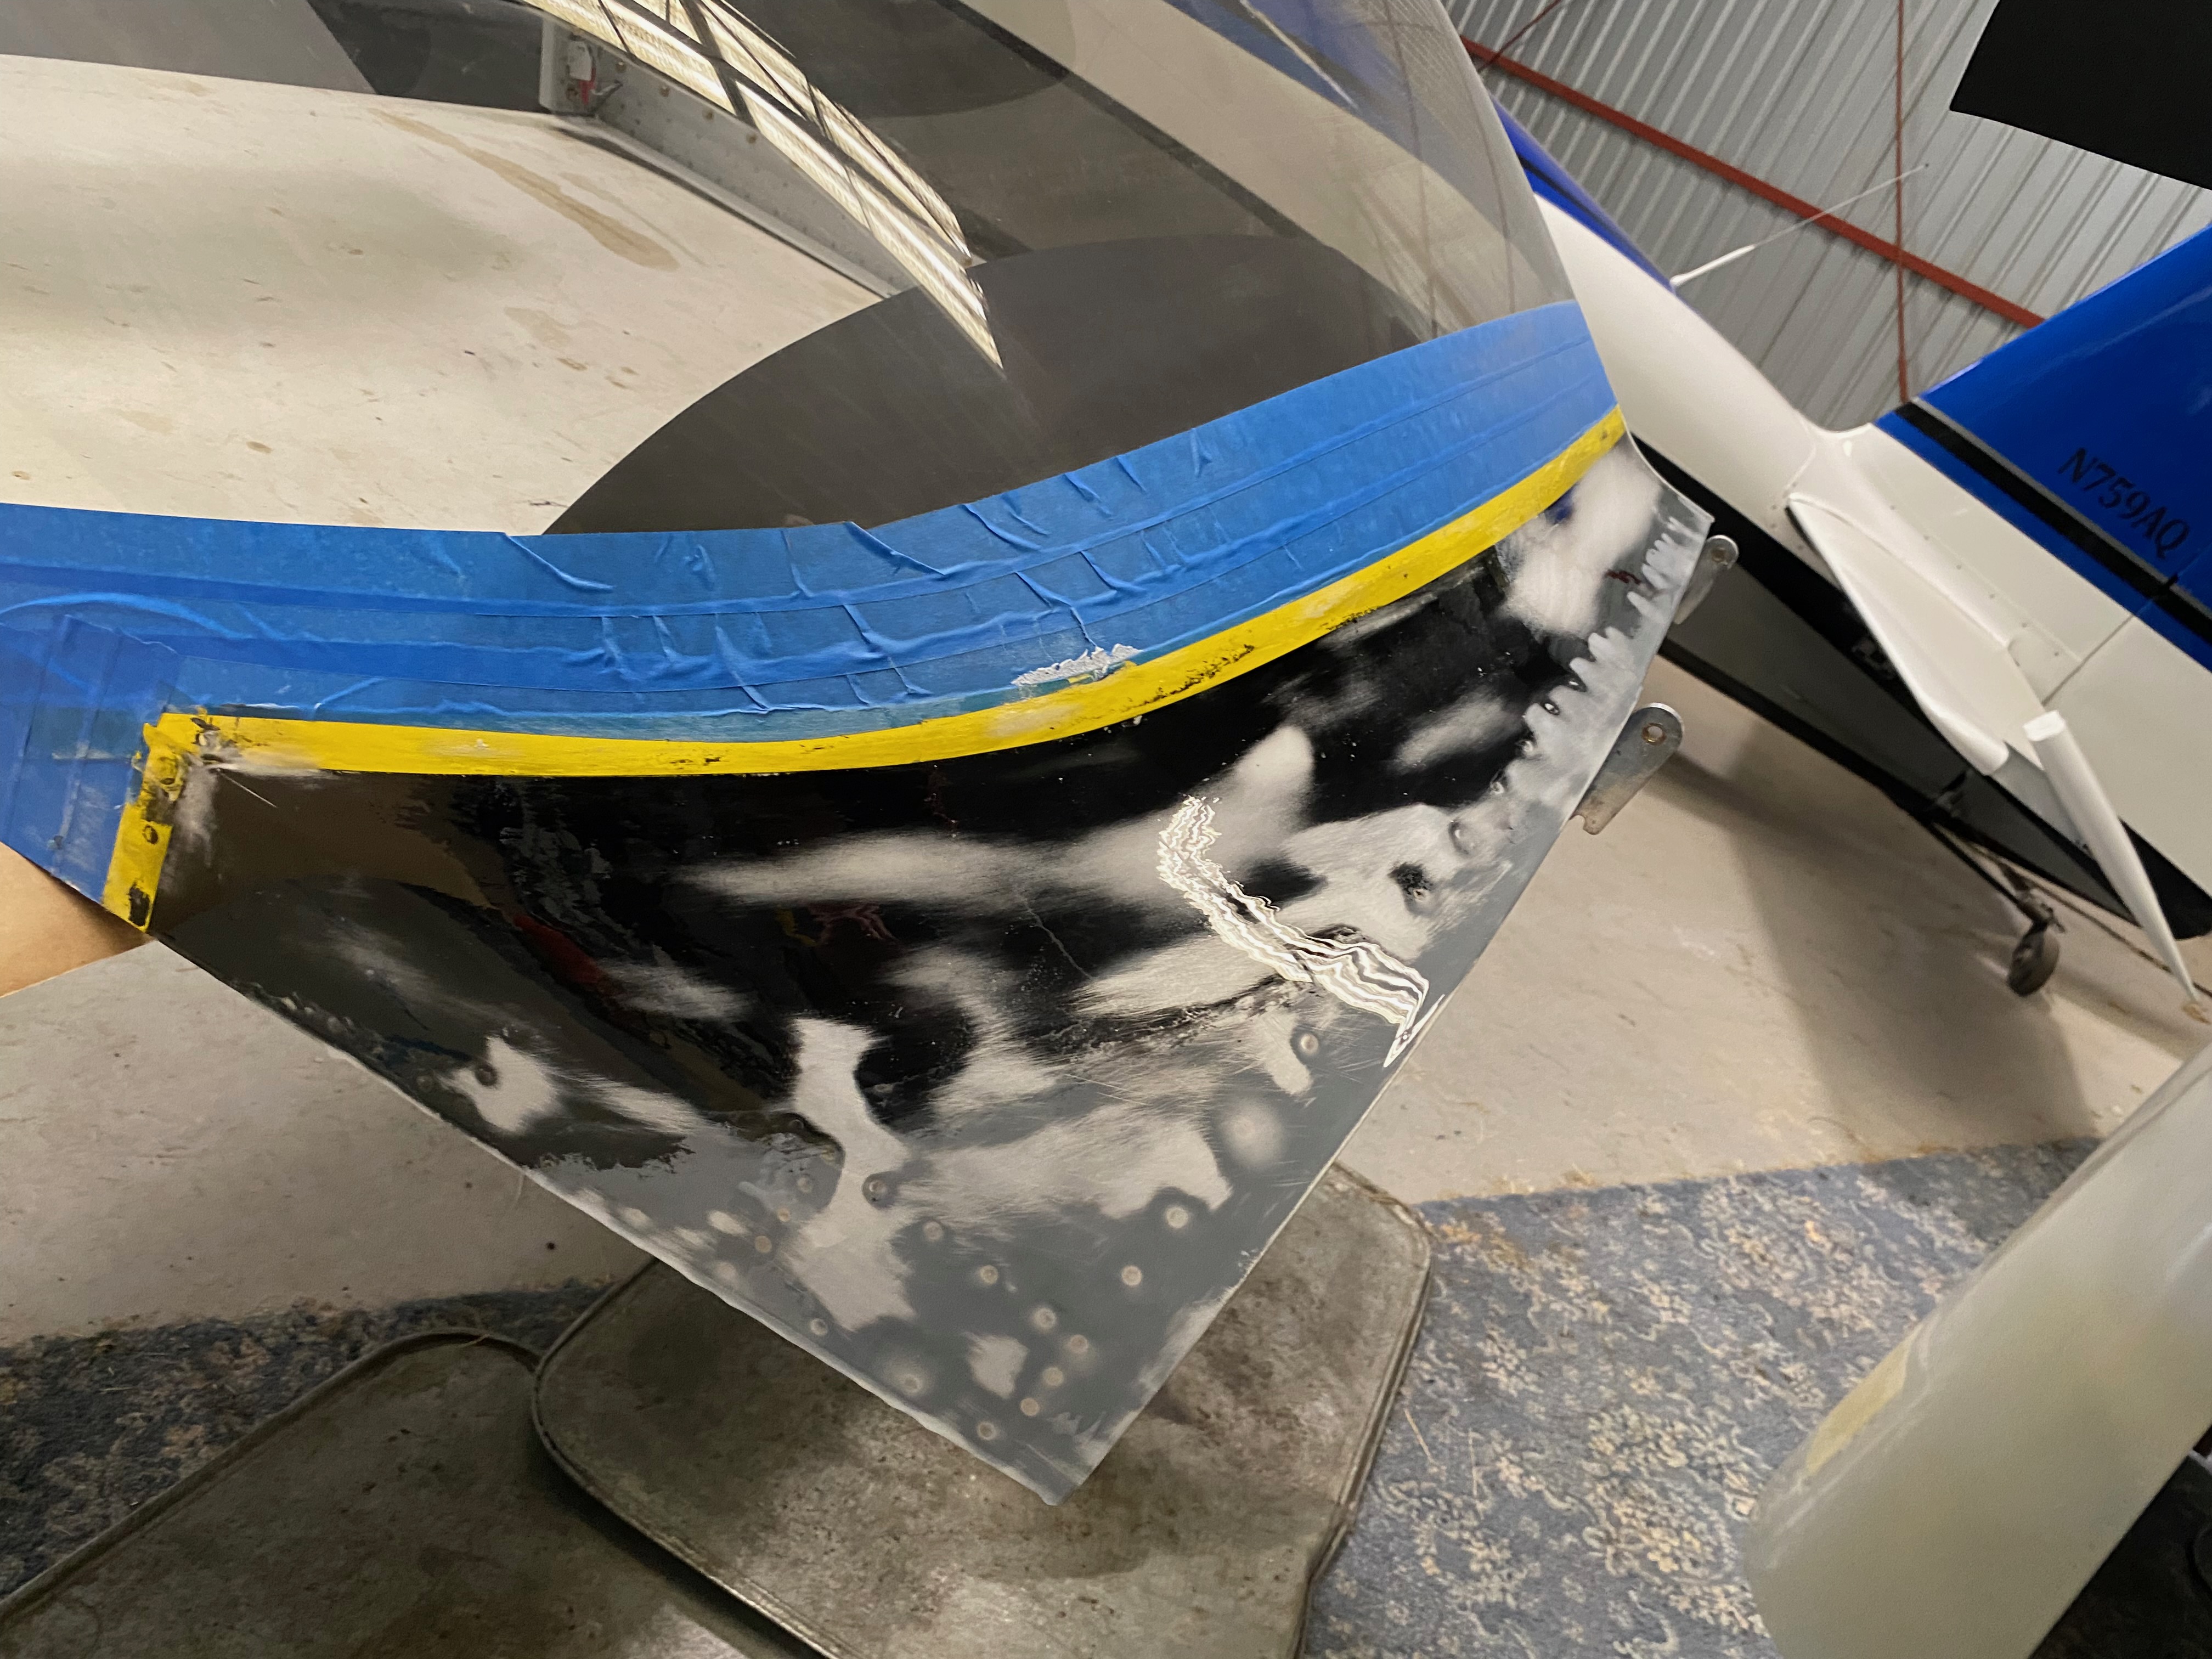
I sanded down the fiberglass layup to match the contours specified in the manual. Then I applied epoxy glass bead filler to smooth over pinholes and build up the contour in a couple low spots. Then I mounted the canopy back on the fuselage and buttoned everything up because I will be taking at least a month off while I go through surgery to donate a kidney to my brother up in Seattle.


Section: 38
Hours: 8
I sanded and roughed up the canopy frame skirt area and plexiglass for fiberglassing, applied an epoxy and glass bead fillet and then layed up the fiberglass skirt. I used lots of black pigment this time to ensure the view from inside the cockpit will not show any light areas at the fillet area.


Section: 38
Hours: 8
The 2nd canopy hinge part arrived today!



Section: 38
Hours: 7
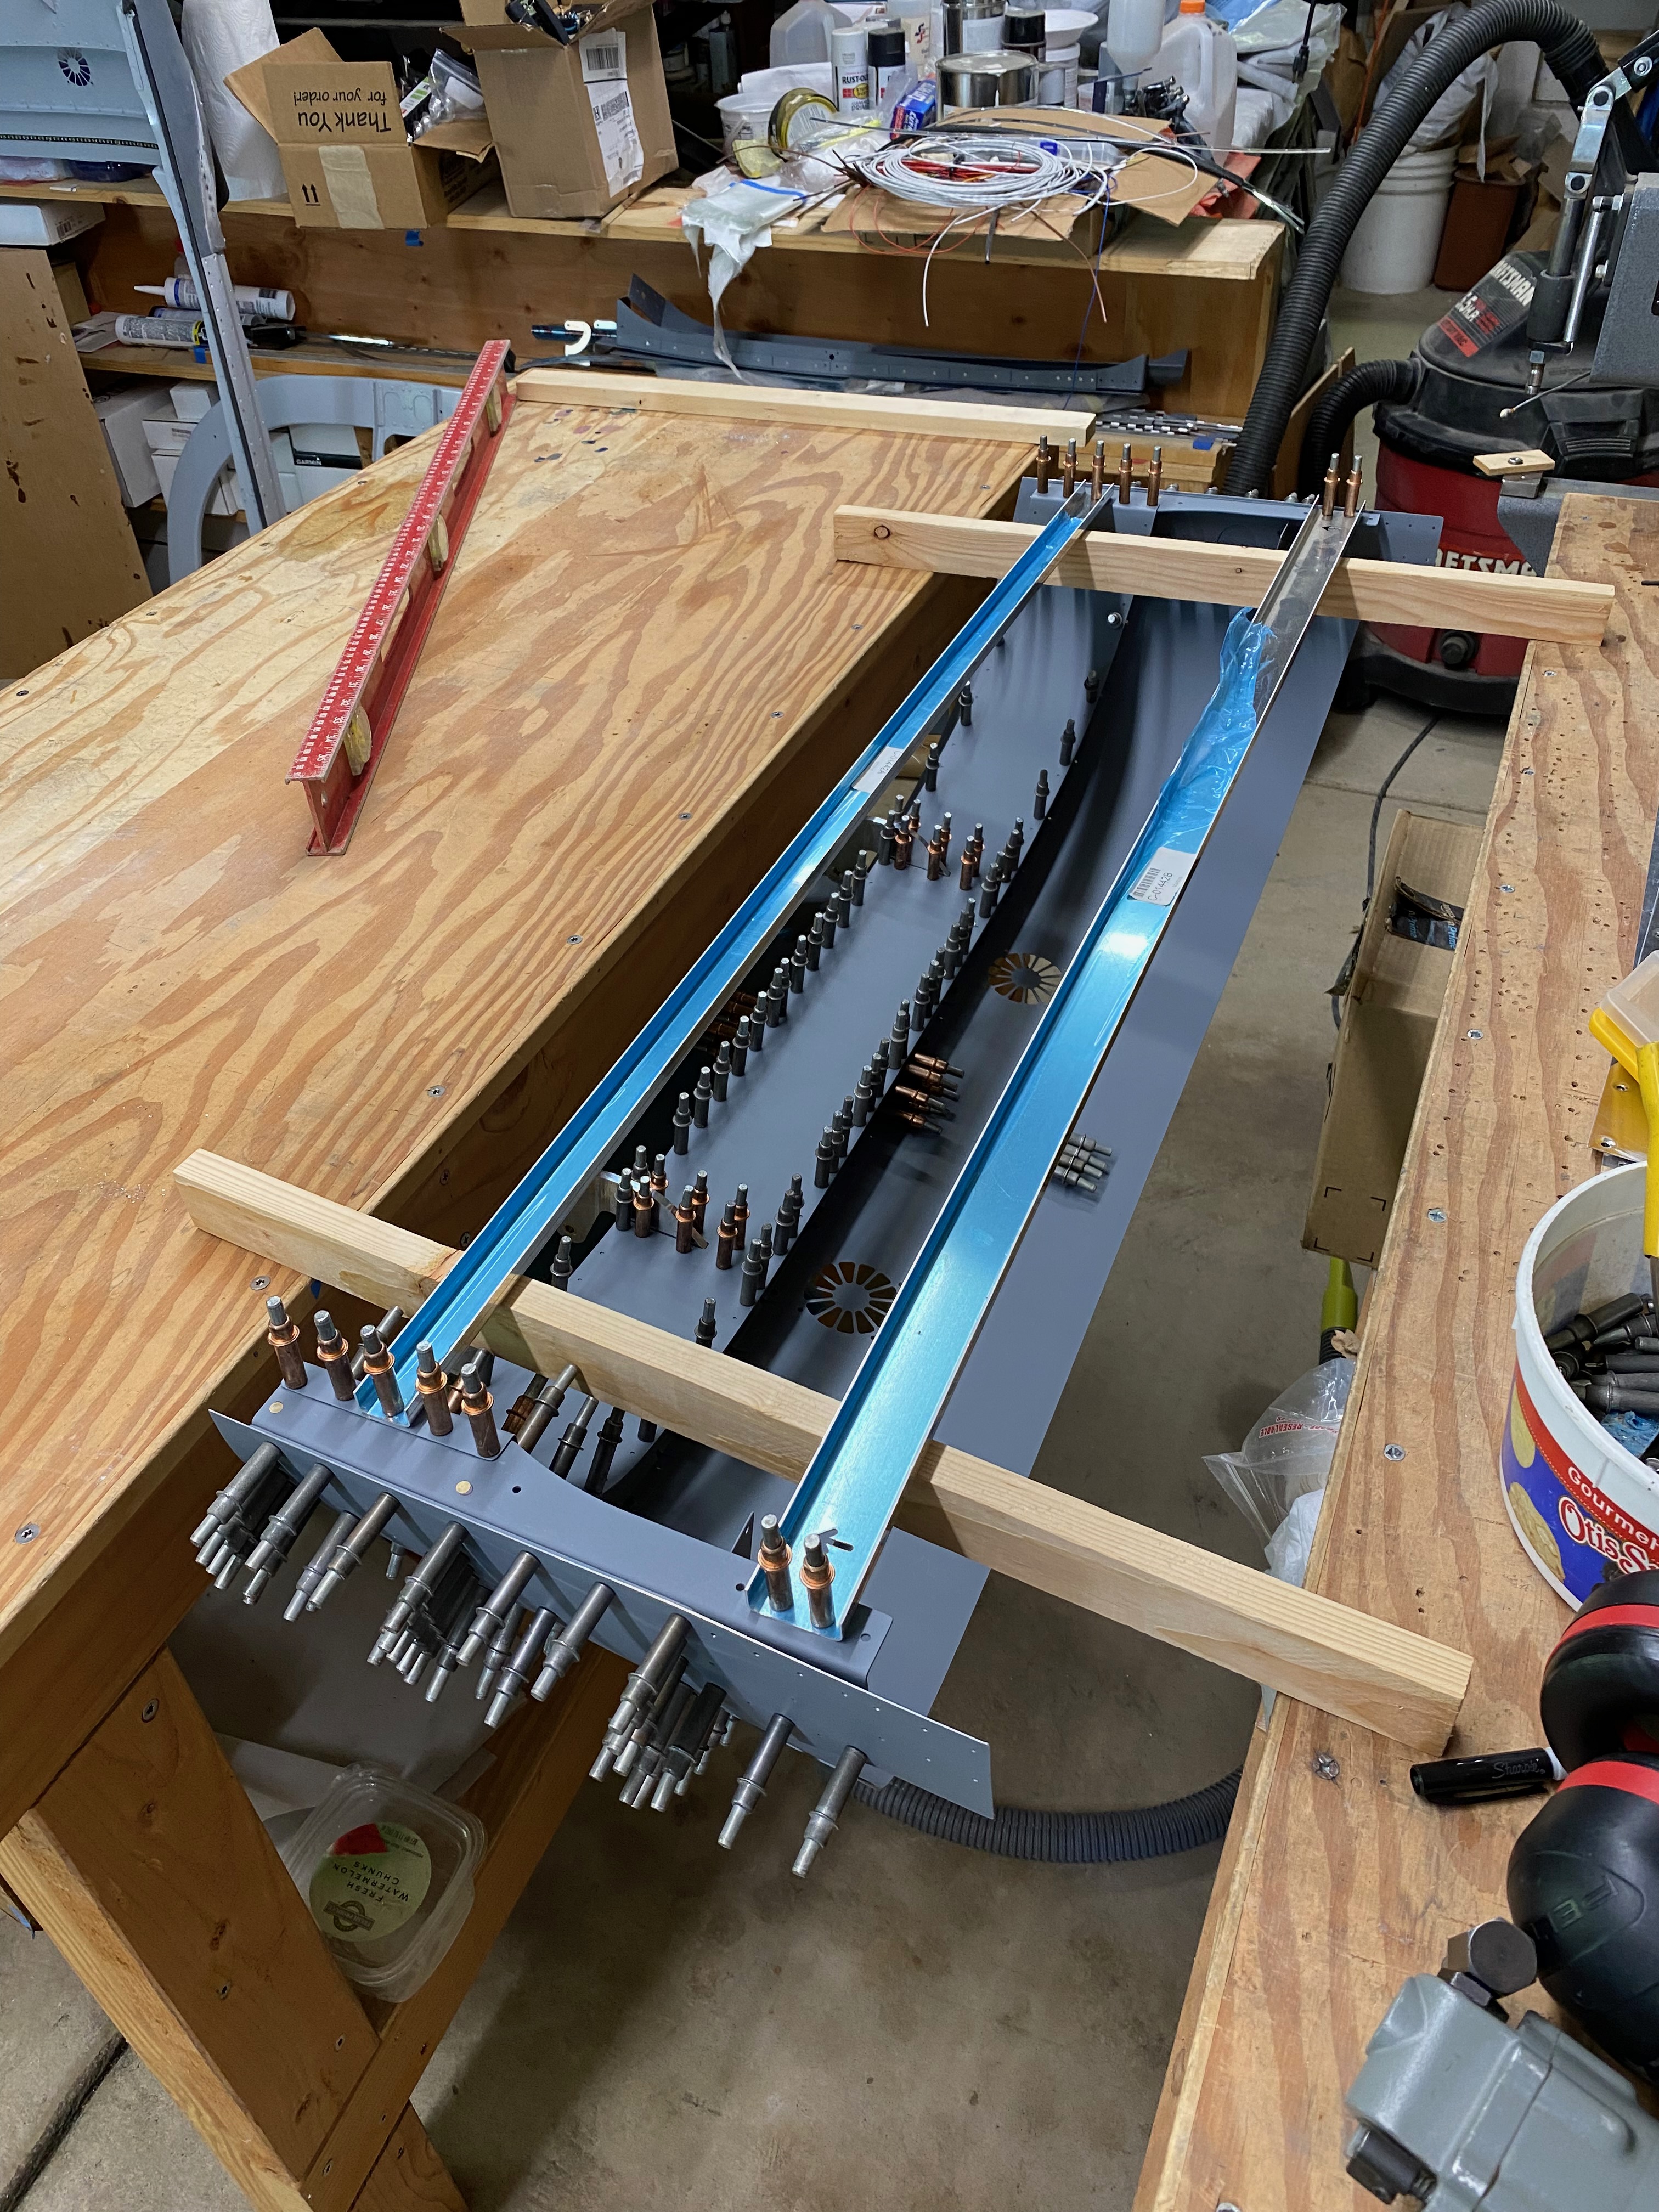
I restored my paint booth, got out the paint gun and applied primer to the new canopy frame parts. The roll over frame was undamaged and I was able to cleanly remove it from the canopy frame so I will reuse it in the rebuild. This will be good because all the screw holes will perfectly match those already in the plexiglass.


Section: 38
Hours: 7
I used the Dremel tool with circular cutoff disk to make a couple of slices in the fiberglass fairing skirt on the canopy. Then I carefully wedged toothpicks under the fiberglass to get it to part from the canopy frame and plexiglass. The epoxy does not form a chemical bond to aluminum, so I was able to break the mechanical bond with some effort. This is why it is so important to do a good job of roughing up the aluminum and plexiglass before laying up the skirt.
The skirt cleanly came off in 1 large piece after applying tooth pick wedges under it. Here you can see the glass bead/resin fillet and fiberglass layers and the underlying rough aluminum skin and plexiglass. You can also see the aluminum clips that hold down the edge of the plexiglass.


Section: 38
Hours: 2
I started transition training with Stan Lawrence in his beautiful RV-14 with IO-360 fixed pitch prop and Advanced Flight Systems / Dynon panel. My RV14 has IO-390 with variable pitch prop and Garmin, but the airframes are the same. Hopefully skills learned will apply to both airplanes. The 14 is a dream to fly- great visibility, great performance, coordinated controls and light touch.


Section: 38
Hours: 4
Last year was a lost year to Covid. I started my tail wheel training and moved the wings to the airport and then everything shut down. The fuselage was almost ready to transport to the airport but it sat in my garage the whole year.
I got my vaccine shots and I am now ready to got back out in the world and hopefully get the airplane in the air this year.
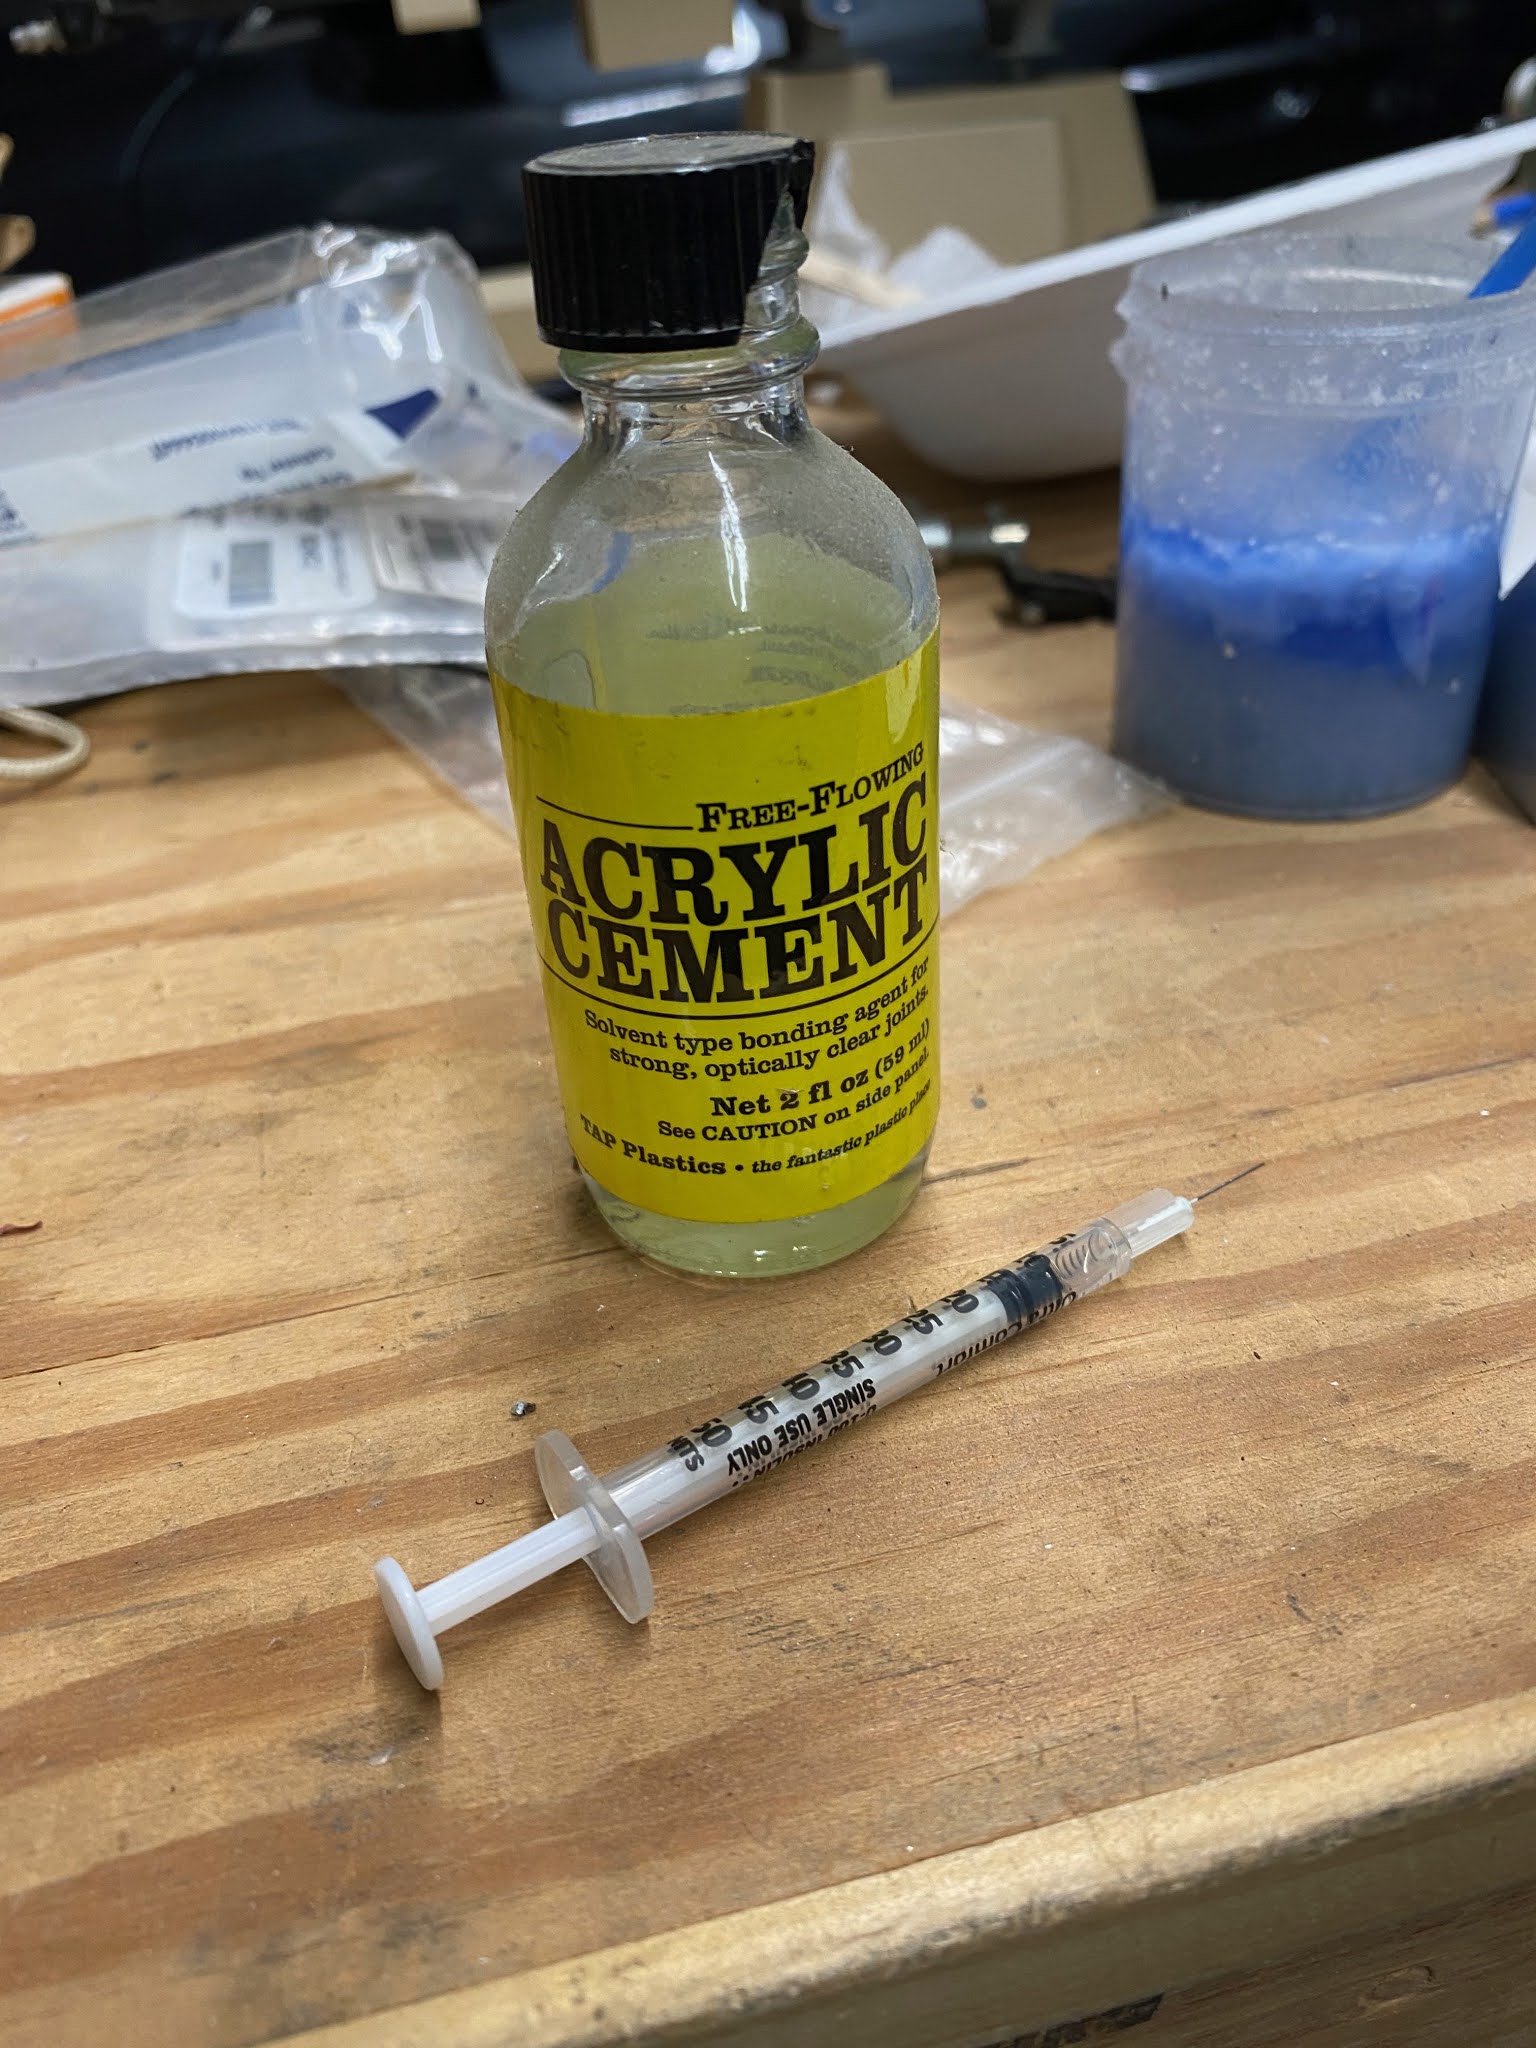
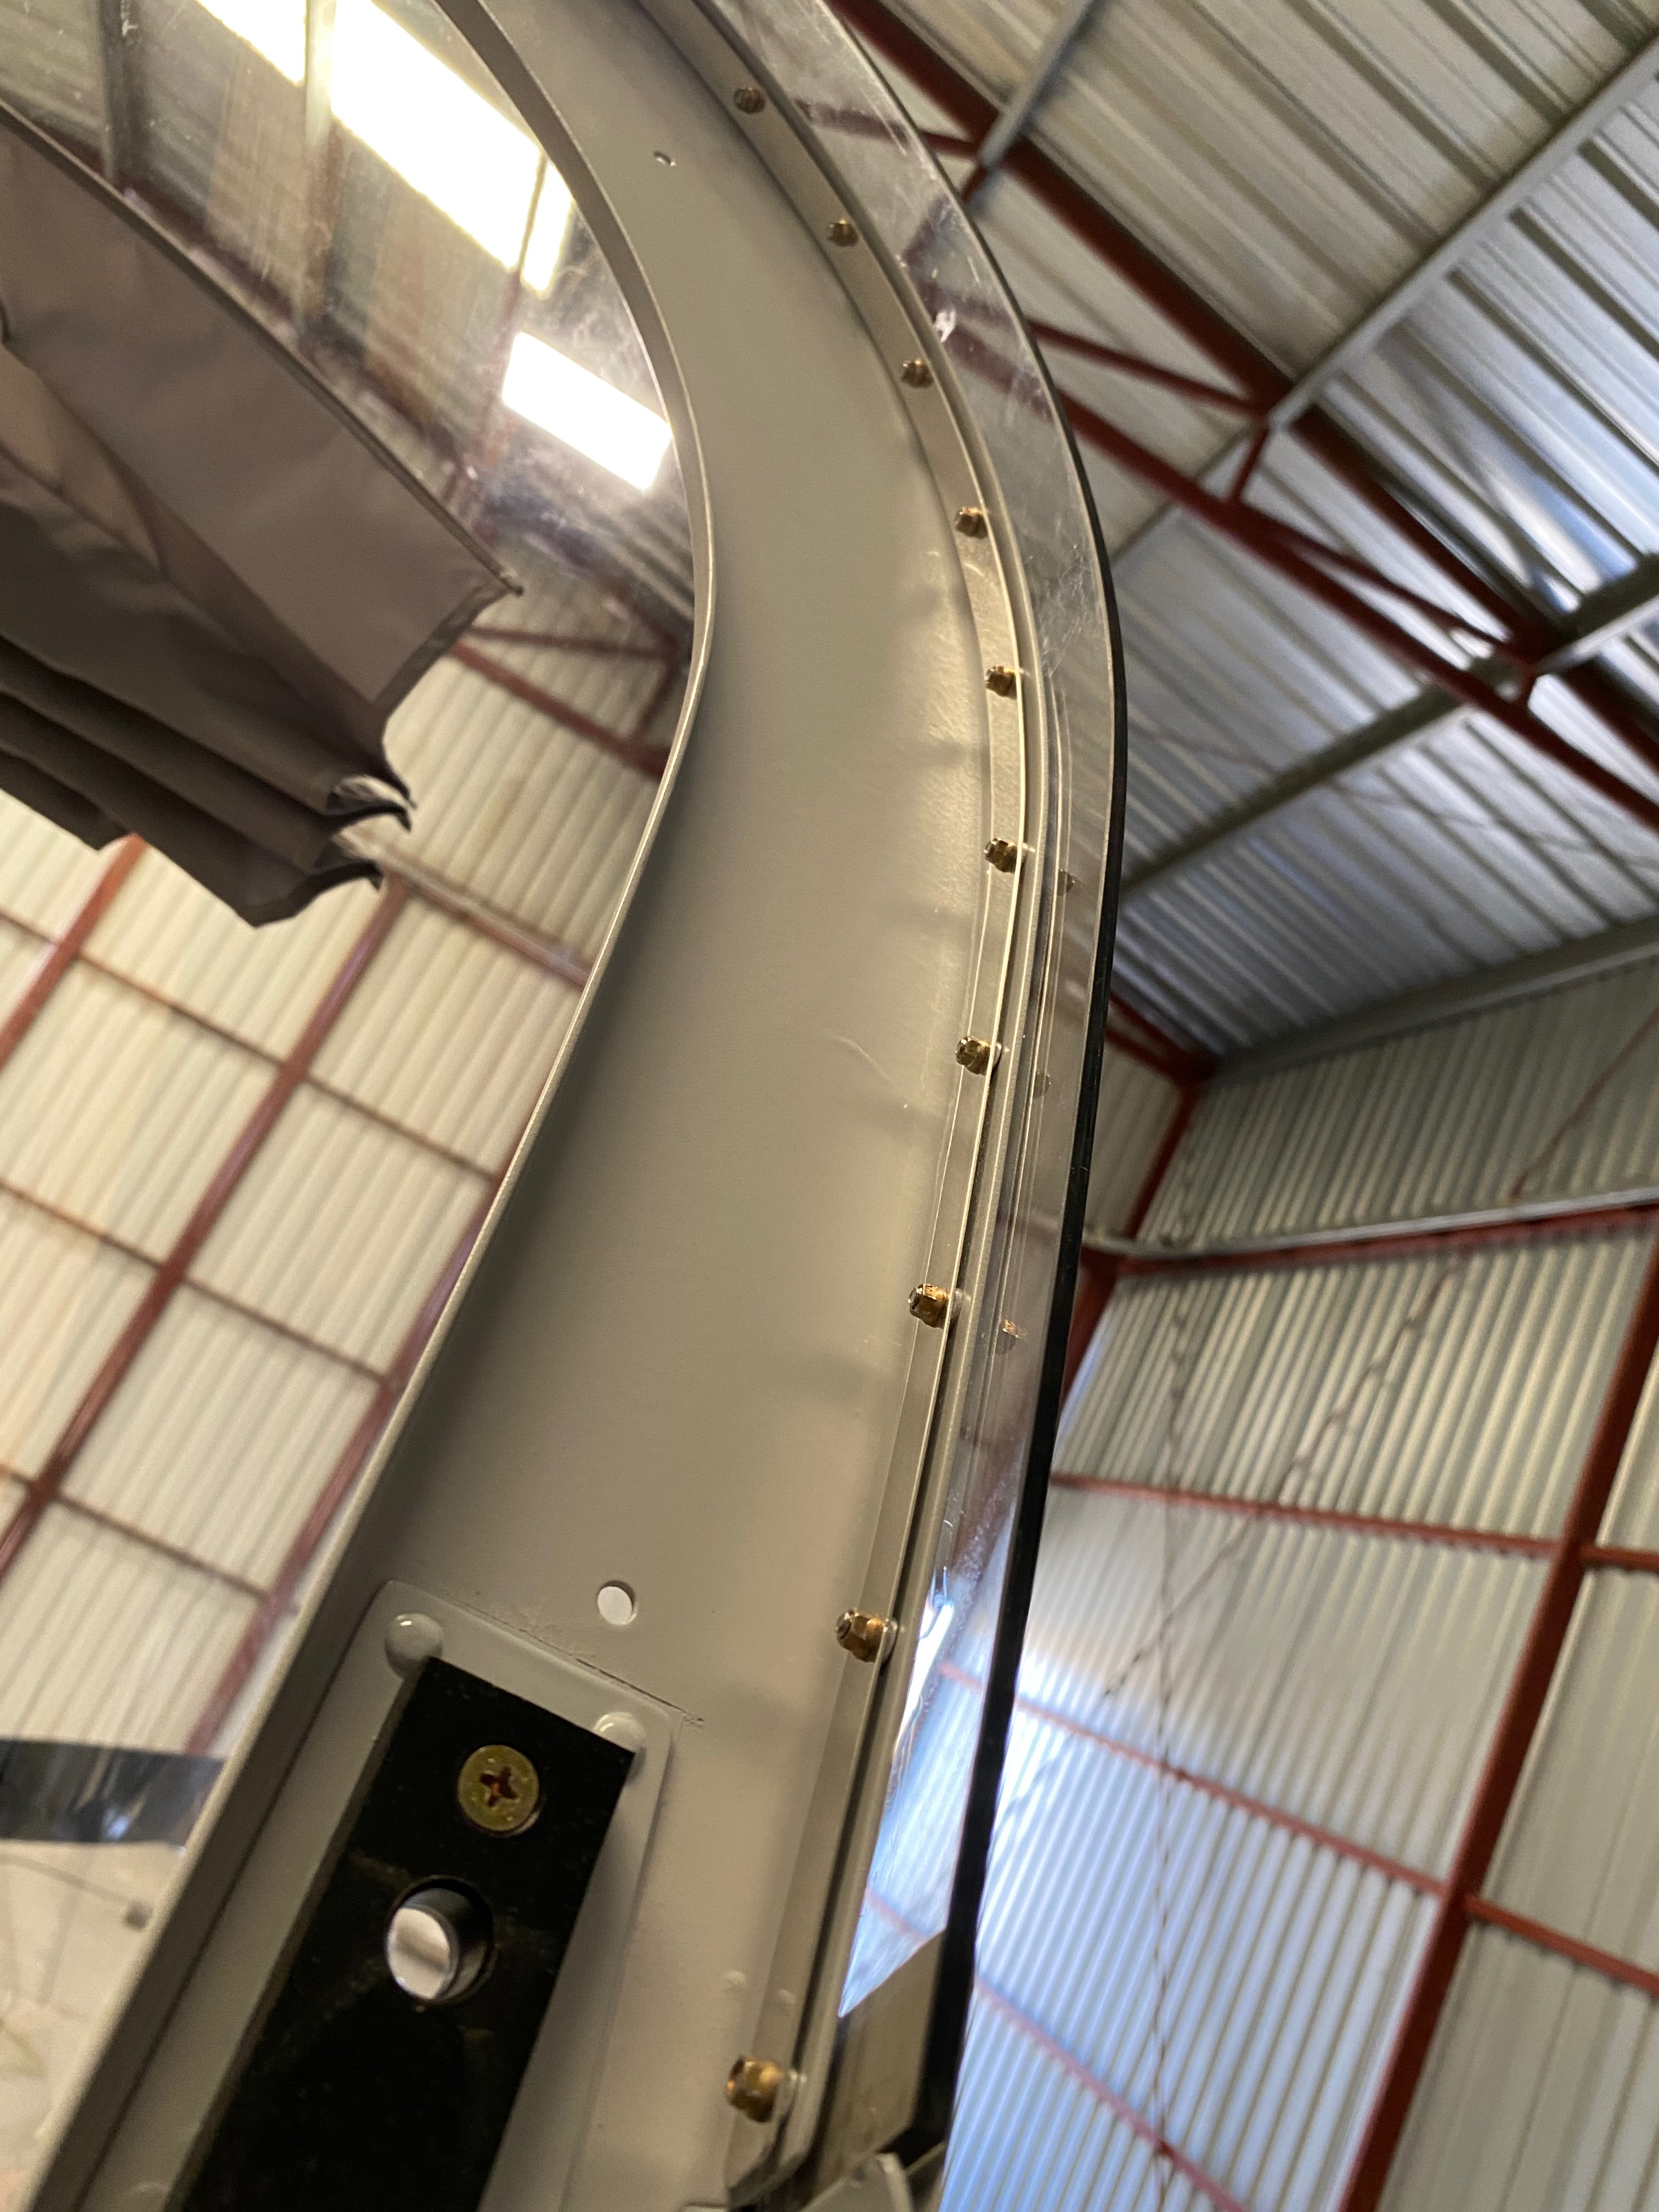
The first task up this year is to get the rear window on. I had left it out to make it easier to work on projects in the cabin, but most of those are done. It was warm today and I worked slowly. I smeared pro seal between the skin and the plexiglass and tightened down the nuts and bolts to a low torque. Everything went well until the very end. A small crack came out of the last bolt I installed. I stop drilled the crack with 1/16" bit, drizzled some acrylic weld from Tap Plastic into the crack and called it a day.